![]()
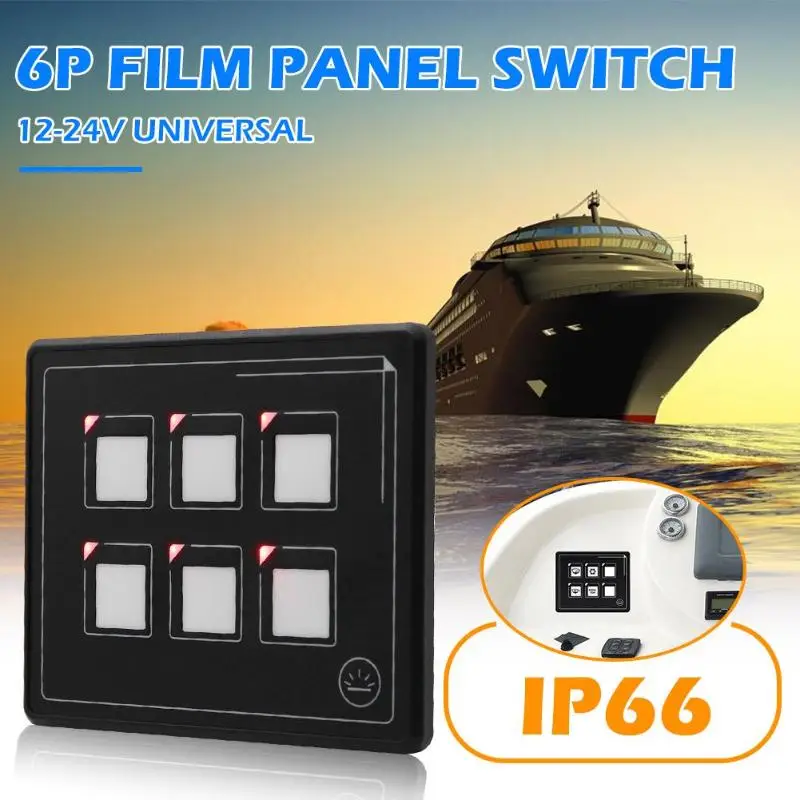
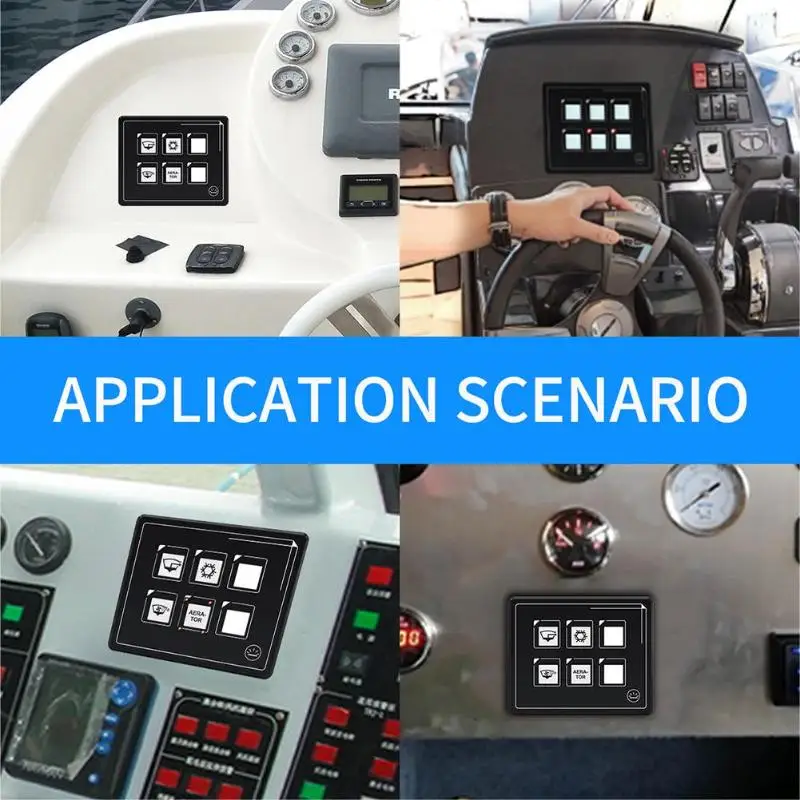
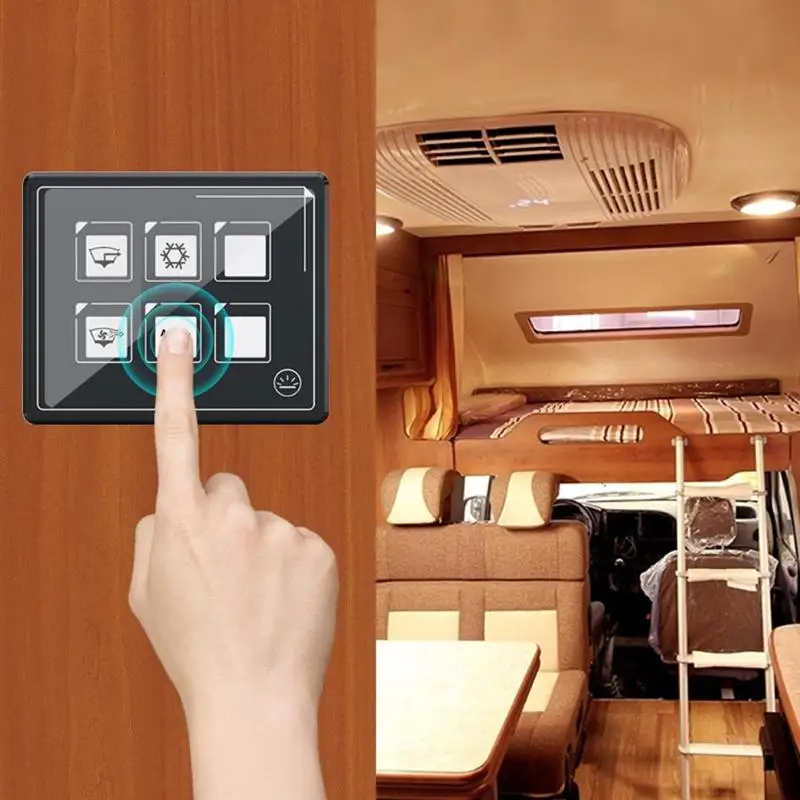
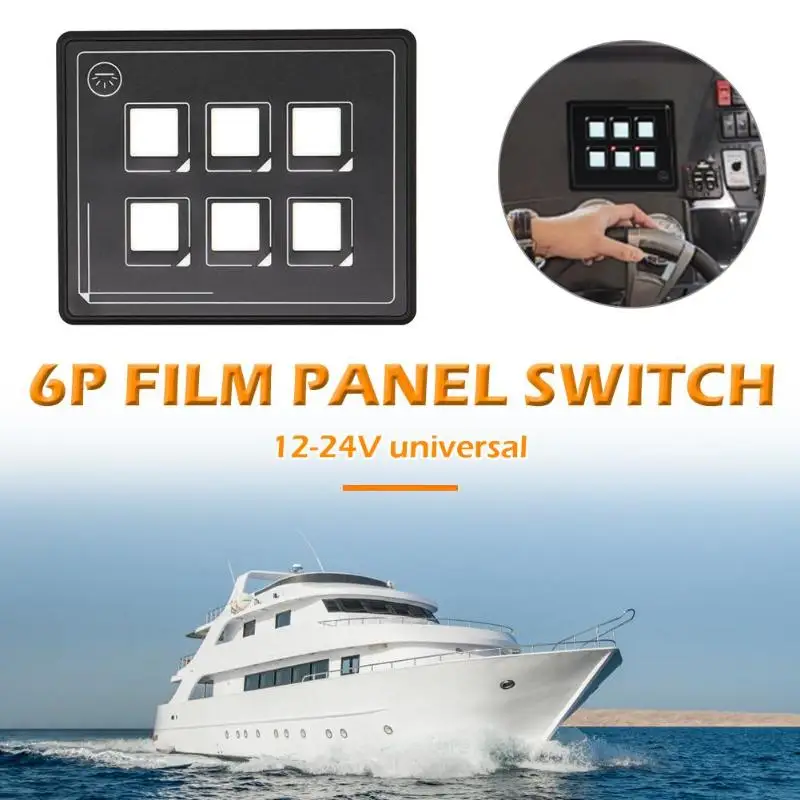
DC 12V/24V 6 Gang Touch Screen Switch Panel Slim Touch Control Panel Box for Car Marine Boat Caravan
Features:
1. Ultra Compact panel size (60% smaller than traditional panels)Easy to install; almost no mounting depth required
2. Easy to install- no mounting depth, minimum hole drilling (13 x 8.5mm)
3. Use compact, readily accessible micro-USB cable, end user can replace cables of any desirable length
4. Flexible wiring- Control Relay Box installed 1m away from the touch panel
5. IP66- protection against strong water jets (Panel Only)
6. ON-indication LED / 10A Self-resettable fuse for each branch
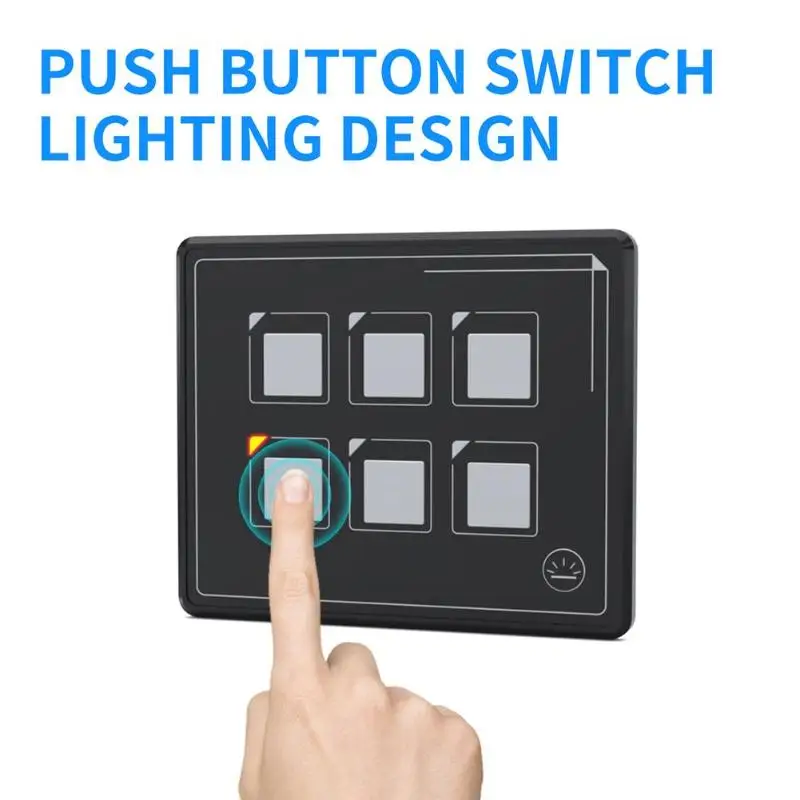
7. Backlight module allowing easy operation in darknessVery low standby current (90% lower than previous models)
8. Programmable momentary button- all buttons can be programmed to be momentary (ideal for horn or wiper applications)
9. Assorted Graphic and Text labels stickers set included
Specifications:
Product model: SP5106
Panel size: 9.1*0.8*7.5cm/3.58*0.31*2.95"
Control box size: 16*9.5*3.2cm/6.30*3.74*1.26"
Packing size: 9.8*6.1*19.9cm/3.86*2.40*7.83"
Product net weight: 303g
Product gross weight: 344g
Product voltage: DC 11-30V
Product current: 10A per branch circuit
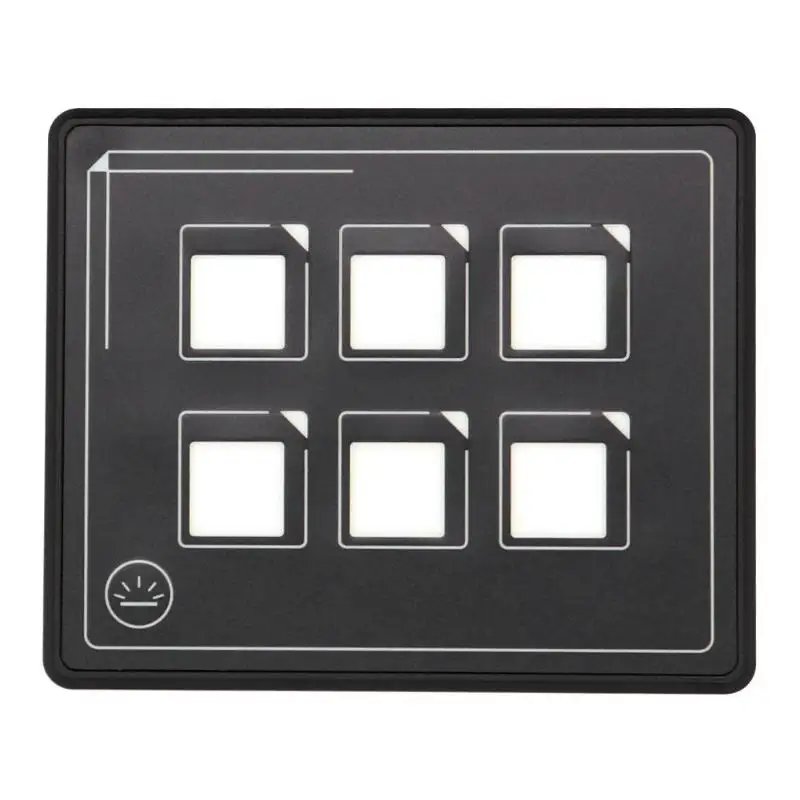
Faceplate: PET membrane touch panel
Circuit Protection: Built-in Resettable Fuse (PPTC)
Switch Ratings: 10A per branch
Panel Rating: Max Cumulative Amp: 35A
Voltage Rating: DC 11-30V
Notes: IP66 (Membrane Panel)
Power Terminals: M4 stud size Ring terminals
Load Terminals: .250 Quick Terminals (Male)
Membrane Control Panel
Backlight ON/OFF Switch
Micro USB Cable
Remote Control Box
Installation Instructions:
1. Place the template provided on the desired panel position and cut the hole accordingly.
2. From the back of dashboard, insert the micro USB plug to the front. Connect the micro USB plug to the socket to the back of panel.
3. Mount the panel firmly onto the dashboard with self-adhesive in the back.
4. Install the Control Box properly with the included screws.
Insert the other end of the micro USB cable into the Control Box. Squeeze the cable into the strain relief hook on the box as illustrated.
5. Crimp the DC positive wire (+) with the included round terminal. Pass the wire through the included insulator and connect to the screw terminals. Cover the terminals with the insulator properly. Crimp the DC negative wire (-) with the insulated 0.250" female terminal and insert into the negative quick terminal on Control Box.Connect the load terminals to the desired devices.The numbers on top of the load terminals correspond to the numbers on the membrane touch 1 2 3 panel as shown in the left.
6. (Momentary Button Set-up) To set up a specific button to be momentary (Push-On), press the button and the backlight button simultaneously for
more than 5 seconds until the button blinks. All buttons can be set to be momentary. To undo this (change the button back to ON-OFF), simply repeat the process again on the same button.
Notes:
1. There may be slight size deviations due to manual measurement, different measuring methods and tools.
2. The picture may not reflect the actual color of the item because of different photographing light, angle and display monitor.
![]()
1 Set X Touch Screen Switch Panel
![]()
![]()
![]()
![]()
![]()
![]()
![]()
![]()
![]()
![]()
![]()
![]()
![]()
![]()
![]()
![]()
![]()
![]()
![]()
![]()
![]()
[relateproductdetail/]
![]()


добрый день. В чем разница между этими катушками? 071N0051 и 071N0808 - Установлен был 071N0808... Читать отзыв полностью...